手动对齐
命令转化很方便,一般优先考虑使用。 但是当使用的第三方组件有如下的要求的时候:
- 微信小程序端的展示和RN端本身就是不同的
- 使用了RN原生动画api,而不是
wx-animated,或者其他原生平台API - 原生扩展的组件
- 需要更强的对组件的控制
- 相比命令转化的微弱性能优势
- 其他原因
这个时候就需要你手动的转化,就像RN给IOS, Android扩展原生功能一样,手动处理就是用小程序现有组件/API编写一个组件/API。 虽然手动对齐对组件有了更强更细的控制,但是组件最终的能力还是取决并受限与微信小程序平台能力。
下面我们以 @areslabs/hi-rn 为例说明,这个组件使用了RN的Animated做了一些动画, 我们将在微信小程序平台手动对齐一个@areslabs/hi-wx。
他们源码分别在 @areslabs/hi-rn源码, @areslabs/hi-wx源码
执行npm publish 把@areslabs/hi-wx发布。 当RN项目使用@areslabs/hi-rn组件的时候,需要在其alita.config.js 配置如下:
module.exports = {
    dependencies: [
        {
            name: '@areslabs/hi-rn',
            wxName: '@areslabs/hi-wx',
            compLists: [
                {
                    name: 'Hi',
                    path: '/hi',
                    base: true  // <--- 手动对齐的组件,指定base
                }
            ]
        },
    ],
}
注意 手动对齐的组件,在配置的时候需要指定 base:true
使用效果
以后所有使用这个@areslabs/hi-rn 组件的 React Native 应用来说,就是可以直接转化为微信小程序版本了。
RN组件
import App from '@areslabs/hi-rn'

class HelloWorld extends React.Component {
    render() {
        return <View>
             <Hi/>
        </View>
    }
}
转化之后的小程序组件效果:
import Hi from '@areslabs/hi-wx'  // <--- 被替换为@areslabs/hello-wx

...
小程序定义组件引用的json文件,将根据path: '/index', 生成如下json文件:
{
    "component": true,
    "usingComponents": {
        "Hi": "@areslabs/hi-wx/hi"   // <--- 根据配置文件的path 生成json文件
    },
    "componentGenerics": {}
}
具体对齐方式
下面我看下具体对齐方式
手动对齐的方式,基本上就是直接去写微信小程序自定义组件 ,不过存在一些差异。
我们先看下需要对齐的 @areslabs/hi-rn组件
export default class Hi extends React.Component {

    state = {
        fadeAnim: new Animated.Value(1)
    }

    componentDidMount() {
        Animated.timing(
            this.state.fadeAnim,
            {
                toValue: 0,
                duration: 5000,
            }
        ).start();
    }

    render() {
        return (
            <View
                style={this.props.style}
            >
                <Animated.Text
                    style={{
                        ...this.props.textStyle,
                        opacity: this.state.fadeAnim,
                    }}
                    onPress={() => {
                        console.log('Hi ', this.props.name, ' !')
                        this.props.textPress && this.props.textPress()
                    }}
                >Hi {this.props.name}!</Animated.Text>
            </View>
        )
    }
}
看一下Hi-WX源码,除了小程序自定义组件需要的.wxml, .json .js,.wxss 之外,还多了一个*.comp.js 文件,下面我们逐个分析
*.comp.js
在具体解释这个*.comp.js文件之前,我们先看一个事实。
class X {

    render() {
        return (
            <View>
                 <Y/>
                 <Y/>
            </View>
        )
    }
}
class Y {
    render() {
        return (
            <View style={{flex: 1}}>Y</View>
        )
    }
}
对于如上的结构组件,在React 实际渲染之后,实际如下:
<View>
   <View style={{flex: 1}}>Y</View>
   <View style={{flex: 1}}>Y</View>
</View>
其中X, Y组件只存在JS阶段,不存在与实际渲染。
但是微信小程序不是,小程序的自定义组件会退化为一个没有样式的节点:
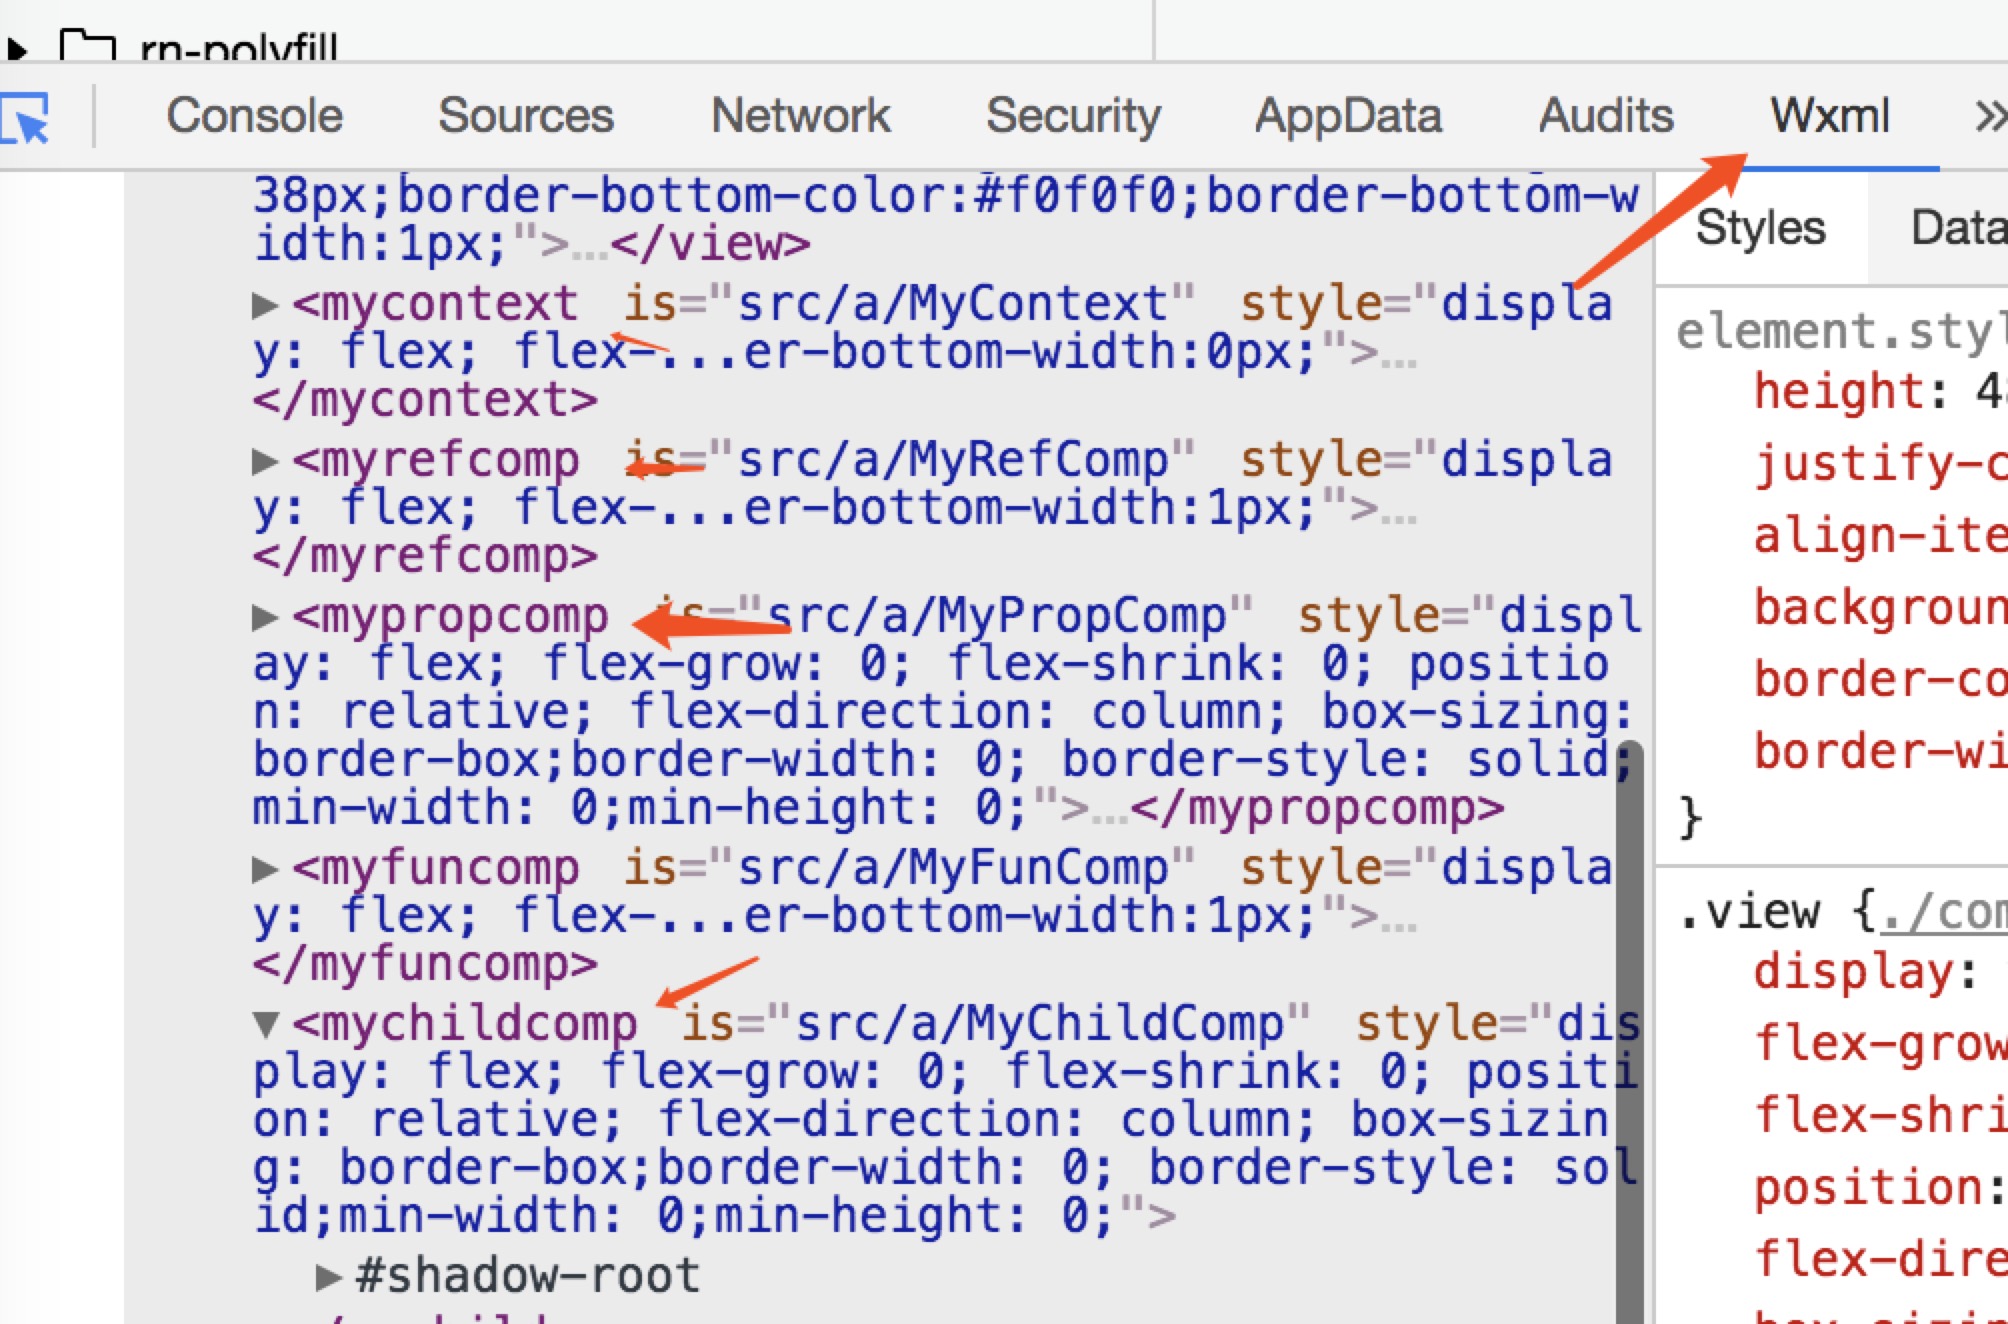
上图是一个实际的微信小程序节点结构,可以看出其自定义节点并没有消失,而是退化为了一个节点。
可见,在微信小程序上实际渲染出来的结构如下:
<View>
    <Y>
       <View style={{flex: 1}}>Y</View>
    </Y>
    <Y>
       <View style={{flex: 1}}>Y</VIew>
    </Y>
</View>
问题来了,由于两种自定义组件的实现差异,这里将导致flex: 1属性失去其原本的意义。
alita对上面产生的问题,提供了解决方法,具体的在我们对齐组件的时候,需要做一些配合框架的工作。
回到*.comp.js 文件,看下:
import {RNBaseComponent, tackleWithStyleObj, styleType} from '@areslabs/wx-react'
const {VIEW} = styleType

export default class Hi extends RNBaseComponent{
    getStyle(props) {
        return {
            style: tackleWithStyleObj([props.style, styles.container], VIEW),
            textStyle: tackleWithStyleObj(props.textStyle),
        }
    }
}

const styles = {
    container: {
        borderWidth: 2,
        backgroundColor: 'yellow',
    }
}
第一: 组件class 继承自 RNBaseComponent
第二: 提供getStyle方法,这个方法, 提供React组件外层包裹元素的样式,比如hi-rn组件的包裹元素View的style属性如下:
export default class Hi extends React.Component {
    ...
    render() {
        return (
            <View
                style={[this.props.style, styles.container]}
            >
            ...
对应这里的 getStyle,style: tackleWithStyleObj([props.style, styles.container], VIEW)。
对于其他需要传递进来的style, 如textStyle,调用tackleWithStyleObj(props.textStyle) 即可。 不需要传递第二个参数。
tackleWithStyleObj会把React Native下的对象形式的样式转化为小程序平台下等效的字符串形式。
大部分需要对齐的组件,包括原生扩展的组件,由于不存在对style的操作,其*.comp.js可以简单的定义如下:
class XXX extends RNBaseComponent {
    getStyle(props) {
        return {
            style: tackleWithStyleObj(props.style, VIEW),
        }
    }
}
react-native的官方对齐,很多组件的*.comp.js 文件就是如上的定义。 可以参考其源码
*.js
*.js文件是小程序自定义组件要求的四个文件之一,我们看下手动对齐下的hi-wx的js文件
import {reactCompHelper} from '@areslabs/wx-react'

Component(reactCompHelper({
    properties: {
        name: null,
        textStyle: null,
    },
    ...
    methods: {
        handlePress: function () {
            console.log('Hi ', this.data.name, ' !')
            this.data.textPress && this.data.textPress()
        }
    }
}));
这个文件 没有什么特别的,唯一和直接写小程序组件不同的是,使用了 reactCompHelper API。 这个API做了两件事
- 让这个微信自定义组件正确的和alita交互
- 赋予这个自定义组件 data,访问函数的能力。 所有在
handlePress下,我们可以看到 形如这种的调用。this.data.textPress && this.data.textPress()这在原本的微信小程序上是不能做到的
*.wxml
*.wxml文件是小程序自定义组件要求的四个文件之一,我们看下手动对齐下的hi-wx的wxml文件
<block>
    <view style="{{textStyle}}" catchtap="handlePress">Hi {{name}}!</view>
</block>
正如前文所说,微信小程序自定义组件本身会退化为一个view节点,所以这里外层的view可以用block替代,或者直接去掉,
另外,由于RN的事件并不会冒泡,这里使用catchtap, 关于小程序 bind和captch的区别,详见这里